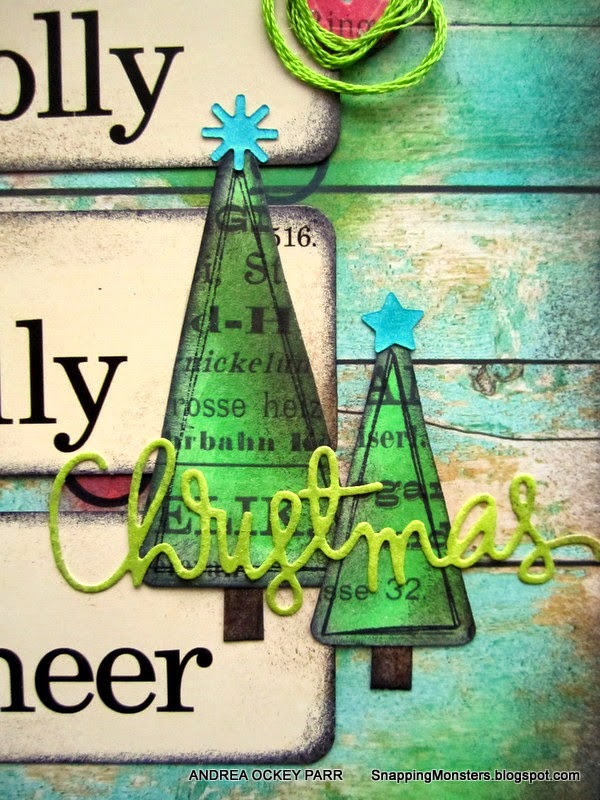
This week's Simon Says Stamp Monday Challenge theme is Holiday Cards. I'm still in denial about the fact that we're into December already, but I have embraced the Holiday-ness by making this festive card:
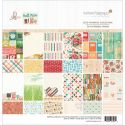
I started with this fabulous wood background paper from Webster's Pages' Hall Pass collection, then I made some circles with the Prima Honeycomb stencil and a Sharpie. I smeared some Distress Ink around the circles for the background. I added some dimensional dots, too, from Mama Elephant's Rounds and Rounds die set (buttons and sequins). I outlined them with embroidery floss.
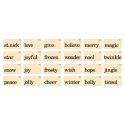
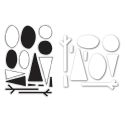
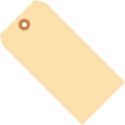
I love these holiday flashcards from Tim Holtz, which I layered on after inking around their edges. I also utilized the fabulous Scribble Trees dies and stamp set from Simon Says Stamp and used the inside shapes from the Mama Elephant dies (stars) to top the trees. I added on the Christmas sentiment from the Merry Christmas Simon Says Stamp die.
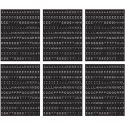
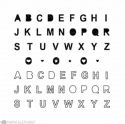
I finished off the card by adding, "And a Happy New Year, too!" with Tim Holtz's label letters stickers (they've become a favorite staple of mine).
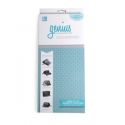
Here's the full product list for this card, all of which are available at Simon Says Stamp:
I am truly excited to see the holiday cards you create! Upload your projects to the Simon Says Stamp Monday Challenge Blog for your chance to inspire and win a $50 gift voucher to the Simon Says Stamp store.
▼
Sunday, November 30, 2014
Sunday, November 23, 2014
My Other Creations: Photographer's Notebook
A wonderfully talented friend of mine recently had a birthday. I decided to make her a notebook, which is a snap with the Cinch Journal Kit from We R Memory Keepers. Since she is an exceptional photographer, I put a dashing female photographer on the bottom with her camera at the ready!
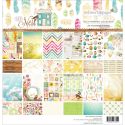
I made this notebook by starting out with some paper from Prima's Epiphany collection (LOVE), which I cut/collaged together to fit the notebook cover.
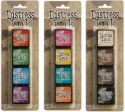
I added some polka-dot stamping and smeared on some Distress Ink in shades of Peacock Feathers, Tumbled Glass, Squeezed Lemonade and Mustard Seed. I also added on some pieces of Washi tape here and there.
I stamped my "photographer" (the stamp is called "Sunshine Girl" and is designed by the talented Samantha Kira Harding) onto paper and then cut her out and added some subtle chalk coloring to her face. I cut her headband out separately and covered it with Washi. Where parts of the image didn't stamp dark enough for my liking, I went back over them with a black Sharpie. I cut out a camera from some patterned paper and added it to my girl.
I added her to the lower right corner of the cover, then stamped out the sentiment using alphabet letter stamps, cut them, and added them to cover.
All that was left to do was to get out my Cinch machine and bind the whole thing together. I did that and added some tabs to the divider pages. The kit comes with white tabs, but I used the handy-dandy File Tab punch to cut some patterned paper tabs of my own.
My friend is one of those people who uses her talents to make the world a better place. She truly has made a difference!
Wednesday, November 19, 2014
My Other Creations: Flight School ATB
Welcome to my contribution for the November Block Hop which is a creative collaboration between Artists on the Block and 100 Proof Press. Here's my ATB creation, which I titled, "Madam Condor's School of Flight."
It's a crazy little whimsical place where any person or creature can learn to fly! And hey- Eileen Hull's ATB Sizzix dies could not make this process any easier! Once I had the box pieces cut, I cut out a door and a window in two of the boxes and then I covered my blocks with fabric scraps cause that's just how I roll.
I added some "flight students" and used some Martha Stewart butterfly punches to make their wings. I cut some triangular roof pieces and stamped them up. I made my school sign with fabric, a toothpick pole and alphabet stamps. I smeared on some Distress Ink for some bursts of color, assembled the boxes and and wah-la!
This project was so fun and these block shapes are so full of possibilities! And of course, 100 Proof Press stamps are packed with potential, too. Here are links to all of the stamps I used on my ATB:
For the flight students and their wings:
For the roof decor:
Thanks for stopping by and be sure to check out what the other crafty 100 Proof Press Design Team members have been up to with their blocks!
Sunday, November 16, 2014
My Other Creations: Travel Art Kit
This week's theme over at the Simon Says Stamp Monday Challenge Blog is "To the Moon..." I figured that if I was going to the moon, I'd definitely want to have my art supplies with me. And so I created this travel kit that will work (gravity permitting) to the moon and back:
I used one of Tim Holtz's configurations boxes to house my kit. When you flip the cover open, here's a glimpse of the inside:
I was amazed at just how much crafty goodness I was able to fit inside my kit! Here's everything all spread out:
I've included some of my very favorite go-to items in this kit. Have you seen these adorable mini Distress Inks? They are amazing space-savers! Ditto with the mini blending tool. I also included some cling stamps, stencils, Washi tape, adhesive, blank tags, fabric scraps, and of course, alphabet stamps and letters!
It gives me comfort to know that I can keep on crafting even if I leave the Earth's atmosphere. Here's the whole list of supplies (available from Simon Says Stamp) that I used to make my kit and fill it:
I am so excited to see how the rest of you interpret this week's theme. Be sure to upload your planetary masterpiece to the Simon Says Stamp Monday Challenge Blog for your chance to win a $50 voucher to the Simon Says Stamp Store!