Behold! I wrapped it around a rolling pin for display purposes (see, Mom? Who says I never use that rolling pin you gave me?):
Here it is laid out flat and photographed in sections:
A-E: (apple, Bingo, cupcake, deer, egg)
F-I: (flowers, glasses, hanger, ice cream cone)
J-M: (Jack, key, lace, mustache)
N-R: (number nine, orange, pin, queen, rain)
S-U: (scissors, telephone, underwear)
V-Z: (van, witch, xylophone, yarn, Z).
To make this bracelet, I cut random fabric scraps into 1-inch (or wider) strips, then I sewed the strips together into one long strip.
Next, I went letter by letter. For dimensional objects (such as the Bingo chip and the key), I either sewed them onto my strip or adhered them with a strong fabric-friendly glue.
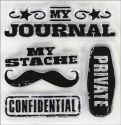
I stamped images onto fabric and colored over the ink with permanent fabric-safe markers to ensure the ink would stay put (this is what I did with the mustache and the witch, for example).
I also used patterned fabric and cut out already-existing images to add to my bracelet (like the glasses and the telephone).
For the deer, the Jack, the queen and the xylophone, I transferred paper images onto fabric. Any image transfer technique would work, but I used a gel medium technique. Simply brush a coat of heavy gel medium onto the colored side of your paper picture. Stick the picture, face-down, onto a piece of fabric. Let it dry overnight. When it's dry, soak the fabric in a bowl of water. Once it's soaked for awhile (half an hour or so), run the image under a gentle stream of tap water and rub the paper off of the fabric. The ink remains on the fabric, but the paper washes off. Some paper images work better with this technique than others, so you just have to experiment. Also be aware that the image will be backwards on your fabric since you flipped it when you glued it to the fabric. So if you're transferring a piece of paper with text on it, your text will be backwards on the fabric.
Here's another view of the bracelet on a display stand, which is closer to what it looks like on an actual wrist when it's all wrapped up:
This project was a lot of fun and we'll see if it ever comes in handy with little ones. If not, it's still a great conversation piece.
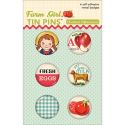
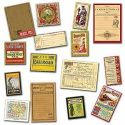
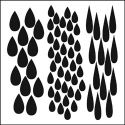
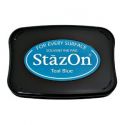
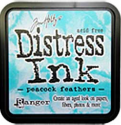
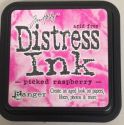
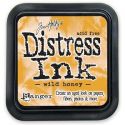
Here are some of the fab supplies I used from Simon Says Stamp to make my bracelet:

So how will YOU use the letter A this week? I love to see what your creative minds come up with, so be sure to share your project with us at the Simon Says Stamp Monday Challenge blog for your chance to win $50 to the Simon Says Stamp store. That buys a lot of crafty goodness!


