It's time to get touchy feely this week with Simon Says Stamp's Monday Challenge theme! Yes indeed- adding texture is the goal and I went with layers and ripped paper scraps to accomplish this noble purpose. What emerged was three scrappy tag notebooks.


I decided to make my own pointy roofs (rooves?) out of patterned paper and washi-covered paper scraps (there are some great AALL & Create washi's in the mix). I stamped the houses with Simon's corresponding stamp set called Printmaking Houses to outline their doorways and windows.

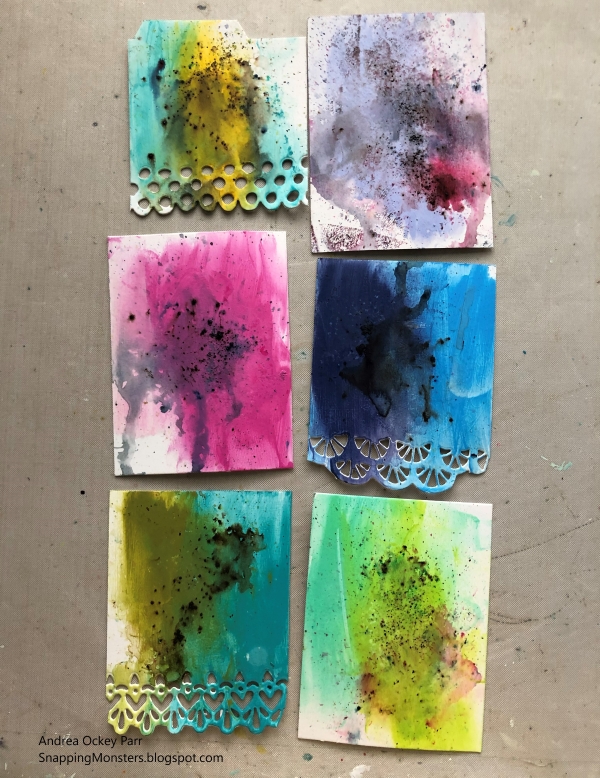
But what to do for the background? Since we are focusing on texture, I grabbed more patterned paper scraps and sewed them onto some kraft tags.

I liked this background, but knew it would be too busy and colorful if the colorful houses were on top of it, so I toned it down with some white paint. I added just a touch of orange and turquoise paint, then I flicked on some of Dina Wakley's Gloss spray. I made another tag in this style as well.

After my tags were painted and splattered, I ripped them up and glued the houses to them. I wanted some random words scattered around, too, so I stamped text from Inky Antics' Encouraging Words stamp set onto a piece of white cardstock, cut out the words, and glued them on as well. This is a fantastic stamp set (she said with bias since she created it).

Now I had some backgrounds and houses and still didn't know what to do with them! I decided to attach them to the front of some tags to make tag books....even though I had already built the backgrounds onto tags that I just ripped up. I'm rolling my eyes at myself as I write this, but there you have it. This is the downside of not having a solid plan when you begin a project! Oh well. We'll just pretend that I wanted to add yet another layer. And so I took out three more kraft tags, folded them in half, and painted them.

Now I was ready to attach my house scraps to my tags. And that's what I did.

From here, I gathered some ledger scraps, book scraps and filler paper and cut it to size. Then I used my trusty Crop-A-Dile to punch holes in the spine and bound the paper to the inside of my notebook covers.

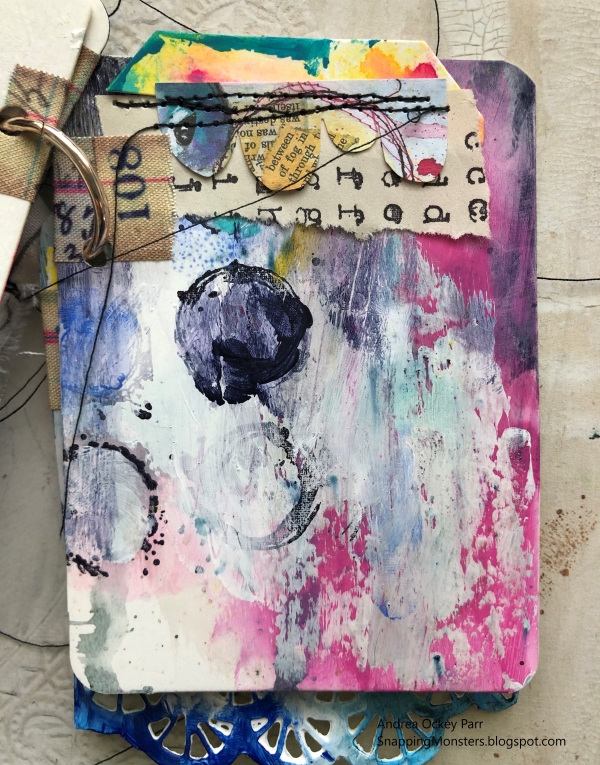
I ended up adding some dark brown and darker teal paint around the edges of the covers to give them a little more definition. I also added a little white paint and a bit of color to some of the houses.

Here's a close-up of each one:


I quite enjoyed this project even though it came together in a round-about sort of way. I'm just glad when things come together at all!
Here are the supplies I used that you can find at Simon Says Stamp:
 |  |  |  |  |  |  |
 |  |  |  |  |  |  |
 |  |  |  |  |  |  |
 |  |

Don't be afraid to share your touchy-feely-textural creations! Upload them to the Simon Says Stamp Monday Challenge Blog for your chance to win a $25 voucher to the Simon Says Stamp store. And don't forget to check out the last few days of Stamptember!