Embossing is this week's focus over at the Simon Says Stamp Monday Challenge Blog. We're also featuring products from Simon Says Stamp. I made a notebook cover using all sorts of things, but the spoiler alert here is that the process pics look NOTHING like the finished product. I honestly don't know why I work so hard on backgrounds and then completely cover them up, but such is the crafty project journey sometimes (eyeroll at myself).
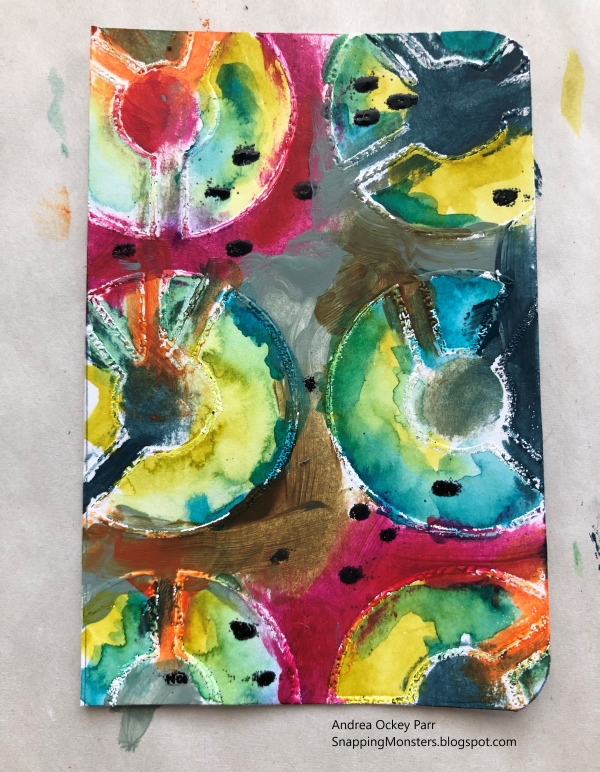
I started by outlining a Big Spools stencil with an embossing pen. I added white embossing powder and heat set it. Then I doodled some wonky dots with the aforementioned embossing pen, sprinkled on some black embossing powder and hit that with the heat tool as well.
With my outlines embossed, I started smearing acrylic paint around the circle shapes. Very therapeutic, I must say. Once I'd added paint around the outsides of the circles, I water-colored the insides of the circles in shades of blue, green and yellow.
Next I wanted to add some more circle power, so I cut out some circle frames using Simon's Circle Loops dies. I glued these to my background.
I added more white using Simon's Scattered Stars stencil and white paint. My background with the die-cut circles glued on was not the flattest surface in the world (I should've rethought my order of operations there), so the stencil didn't lay down flat and the stars got a little smooshy-looking, which was fine by me. I added more paint around the edges.
I liked the background, but what to put on it? Hmmmm. I reached for my Tim Holtz Photobooth images and also opened up my Simple Stories Flea Market paper pack. There I found a nice tag that I liked the looks of. And as always, I made a pointy hat for my girl. Then I made a number file tab using Tim Holtz's Specimen die set. I also grabbed a Dina Wakley ledger paper scrap. I cut some square frames out of Simon's Thin Frames die set and painted those as well.
Assembly time! I sewed my cover onto my notebook and then glued everything down and blended the edges a bit with more white paint. I added some orange painted polka dots. But I felt like my girl needed something else at the top of her hat. I decided to use the petals of Simon's Fine Petal Leaf Branches die to add a propeller-looking thing to the top of the hat.
Here's how it all turned out, close-up:
Here are the supplies I used that you can find at Simon Says Stamp:
- The Crafter's Workshop Big Spools Stencil
- WOW Embossing Pen
- Hero Arts White Embossing Powder
- Hero Arts Black Embossing Powder
- Strathmore Mixed Media Paper
- Prima Watercolors
- Simon Says Stamp Scattered Stars Stencil
- Simon Says Stamp Circle Loops Dies
- Sizzix Big Shot
- Simon Says Stamp Thin Frames Dies
- Tim Holtz Photobooth
- Dina Wakley Ledger 2 Paper
- Simple Stories Flea Market 12x12 Paper Collection
- Tim Holtz Specimen Dies
- Simon Says Stamp Fine Petal Leaf Branches Dies
- Ranger Heat Tool
- Dina Wakley Paint: White, Fuchsia, Marine, Ruby, Sage, Tangelo, Syrup
We're looking forward to seeing how you incorporate embossing into your projects this week! Upload your creations to the Simon Says Stamp Monday Challenge Blog for your chance to win a $25 voucher to the Simon Says Stamp store!


