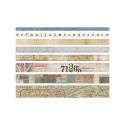
I started by stenciling some splotches onto these fabulous tags I cut with Whimsy Stamps' Stitched Tags die set. I outlined the splotches with a Sharpie to give them more definition.

Next came some color magic as I added Brushos crystals and sprayed the tags with water. After the tags dried, I stamped them with black stitches from Whimsy's "In Stitches" stamp set.

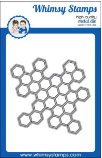
Next I used Whimsy Stamps' Honeycomb Pattern die to add some texture to my tags. Then I painted over the honeycomb with acrylic paint.

I wanted more color, so I added acrylic paint in different shades.

I finished off my tags by adding a little more white acrylic paint, letting it dry, then stamping the tags with some great sentiment words from Whimsy Stamps' "You Are" stamp set. I added a little tag to the top (also from the Stitched Dies set) that I cut out of a Bingo card. I twisted some wire to make hooks and these tags were done.

Here are the supplies I used that you can find at Whimsy Stamps.

"You Are" stamp set
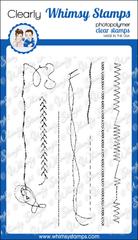
"In Stitches" stamp set

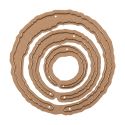
Stitched Tag dies

Honeycomb Pattern die