So how did I bring Frankie to life? I started with a cook book page (cause I never use cook books for cooking) and covered it with acrylic paint and Washi tape.
It was looking a little too festive for Frankie, so I added black, white and green acrylic paint, which I smeared on using my fingers.
Next I added my favorite liquid-y paint: Golden High Flow acrylics in teal, black and fluorescent pink. I spritzed the paint with water to ensure some blending and drizzling. Then I let it dry.
Next I worked on Frank. I stamped his head on white paper, then his shoulders on some plaid paper. I cut his chin-shape out of the plaid paper so that he would have a stylin' shirt. I smeared some Distress Ink and Simon Says Stamp ink onto his shirt to give it a bit more oomph.
I tore a square section out of a grammar book and circle-punched a hole through the middle. I outlined the circle with a Sharpie and glued it to my background. I stamped the "friend" and "good" sentiments from the stamp set, glued them to some black patterned Washi tape and put Frank together.
I assembled all the components and cut out a triangle hat for Frank (the set comes with the most adorable selection of hats, too) and I added a Washi tape number to the hat. I finished off the card with some faux stitching from Whimsy's In Stitches stamp set.
Here are the Whimsy products I used on my card:
Franken Bad Hair Day Stamp Set
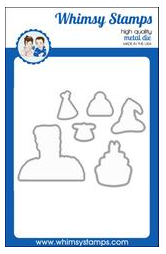
Franken Bad Hair Day Die Set
In Stitches Stamp Set
I love the variety of stamps at Whimsy and thoroughly enjoyed this project. I can't wait to see what else they have in store for their incredible 31 Nights of Halloween Blog Celebration!


